Sunday 22 February 2015

Almost have a whole kitchen!

We grouted the kitchen splashback yesterday. James thought we should go with black, and we did, and I am really glad we did, I am really happy with the results. I'm loving the powerpoint covers too!

The sink...


Here is to the right of the sink...


To the left of the sink...


Along the bench... (the tape is still there because I just painted that part of the wall this morning!)


So now we just need to seal the edges and put the under cabinet lighting in. Almost there!!

Saturday 14 February 2015

Kitchen splashback!

We finally got the tiles on for the splashback, which is exciting. The kitchen is almost done!!

This is what we started with...


Then we started...


Some 9 hours, and a few swear words later...

Ta-da!


Very happy with the result so far!

Next week... grouting!!

Thursday 12 February 2015

Table and chairs!

We finally got the table finished and inside!!

Here is the table, voila!


Here it is with the stools I made:


I am really happy with it all!! Having the stools being able to tuck under the table, means the table and stools aren't dominating the space, which is fantastic because I was worried we might lose the open airy feeling that removing all the walls created.

Saturday 7 February 2015

Plaster and paint...

So today I sanded the plaster job I did last weekend on the wall right near the door that has the light switch. I also sanded the plaster job up the end of the bench on the entryway side of bench.

I was pleasantly surprised, it actually looked good!! I thought James would have to plaster over it and fix my dodgy job, but my plastering and sanding were quite successful!

So then I painted over with a primer so that I can paint it and then fingers crossed we can tile next weekend!


Except I just turned the light on to take a photo and I will have to do a few touch ups lol But minimal, thankfully.

Today James stripped and sanded back the new dining table. We had painted it weeks ago, but the paint kept bubbling. So we decided to go back to the start and he used paint stripper and sanding and got the top back to a good starting point.  Then he has resprayed with a primer and a first coat of paint.


We bought all the tiling stuff today, so I see lots of youtube how to videos in our future. That hopefully will be next weeks job!

Thursday 5 February 2015

It's been a month...

But we've been busy with other stuff! We are finally back into it again.

But I have made some awesome plans for furniture! So we will be making our own desks for our study and I am planning on making a few ottomans as well. That is a little while off, I won't do any of that until after the main renos are done.

But just as a sneak peak, here is some of the stuff that will make an appearance in the future...


An ivory pillow with gold pattern. Then some abstract leopard print velour material that I will be fashioning into something at a later date! Then some new handles for an old piece of furniture that will be rejuvenated!

Here is a close up of the handles... I wanted something with crystal but not just crystal because I didn't want the structural integrity of the handle compromised.


Hopefully I will have more updates on house stuff after this weekend!

Thursday 1 January 2015

More bespoke stools

So here is another 8 stools. There is still 3 to come! Once they are all done, I'll take a photo of them all together :)

So first up we have a natural and black burlap zig zag. It looks black and white in the image, but it is in fact natural burlap colour.


Black and off white stripe


Black and off white swoops and swirls


Seams like old times black print


Black and white diamond

Letters from Paris Collage in cream


Morrow in cool grey


Celestial sun twill in nightfall

3 more to come, but they won't be until next week!


Tuesday 30 December 2014

My unique DIY dining stool.

So I started with a Frosta stool from IKEA.

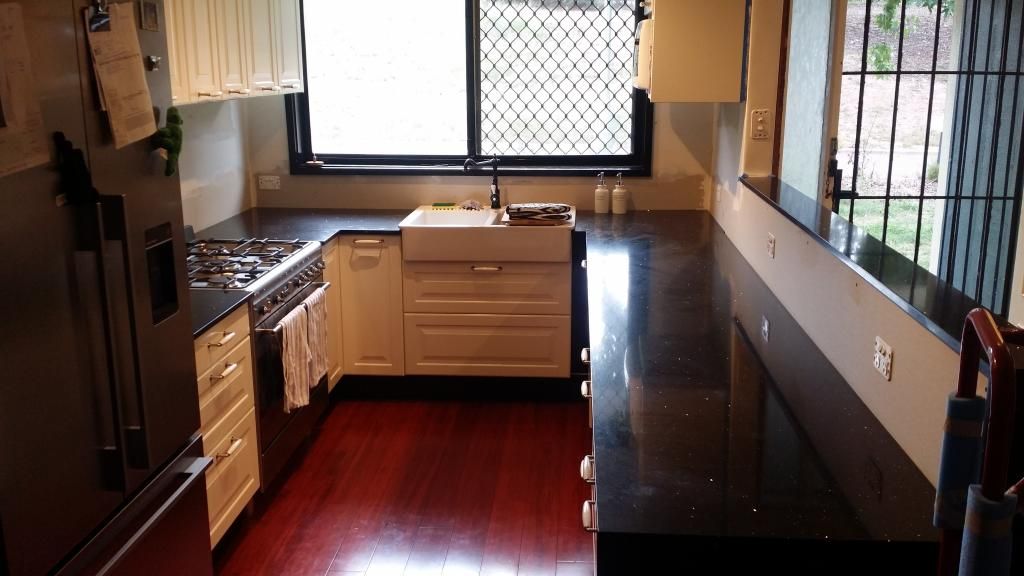
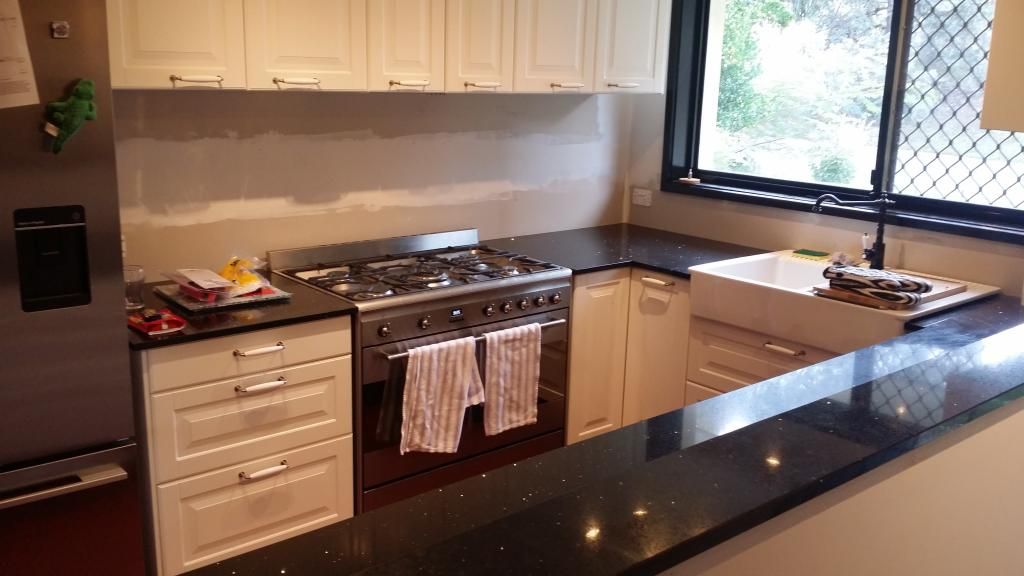
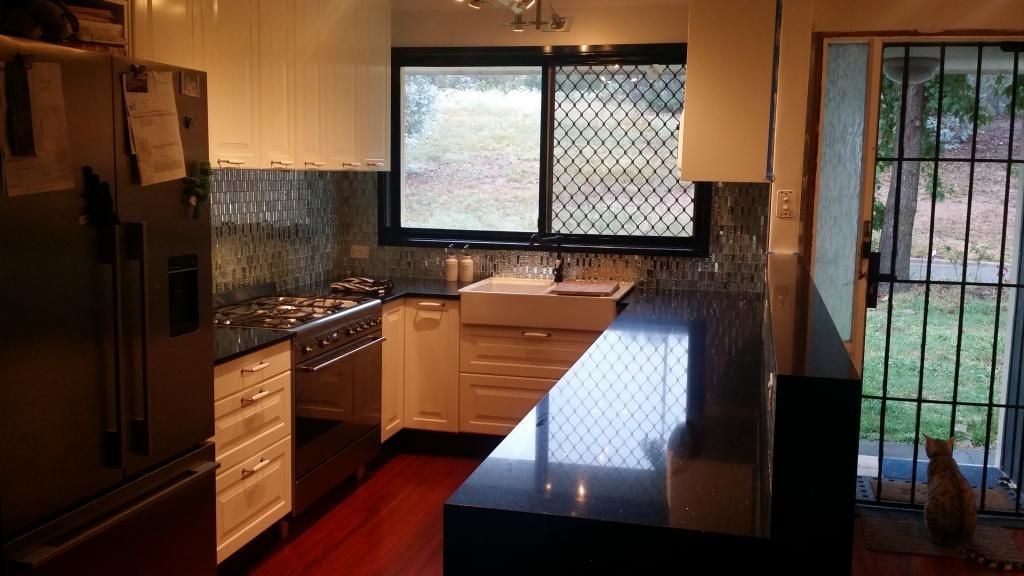
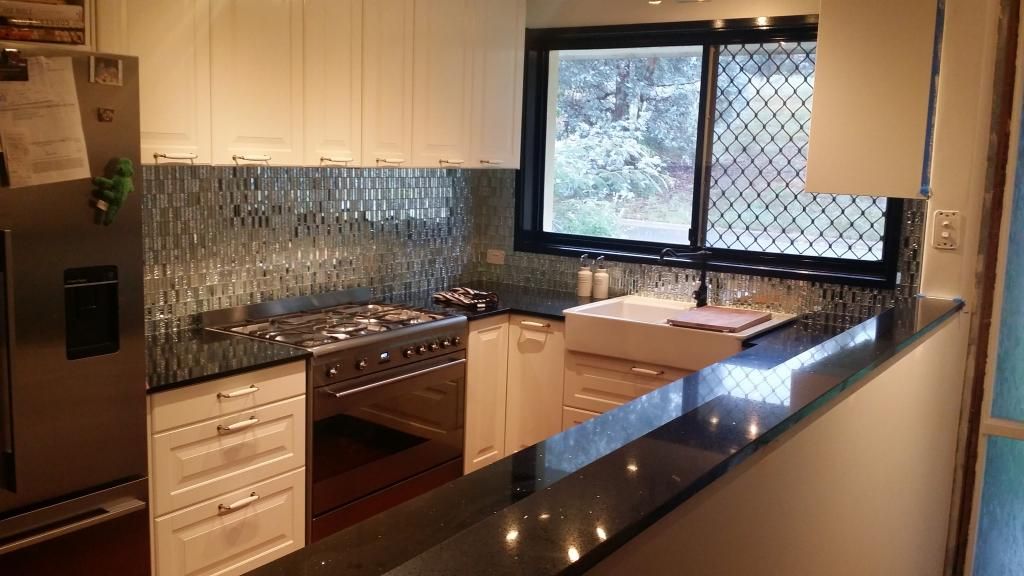
I knew that what our colour scheme was going to be. The kitchen is black and antique white with touches of silver. There will also be touches of gold in the general decor. So with that in mind, I planned a black table and then I wanted black on the stools with touches of antique white, silver, gold. I found so many materials that I liked, that I figured I would use them all! So there will be 12 finished over the next few days / a week so I will post them as I do them.

First step was painting the legs black. I also painted the underside black too.


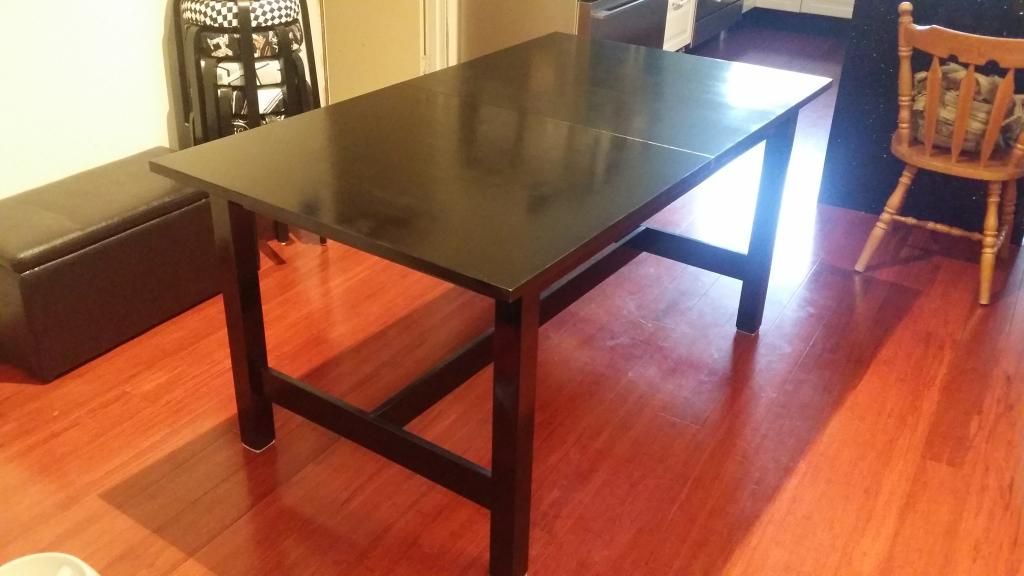
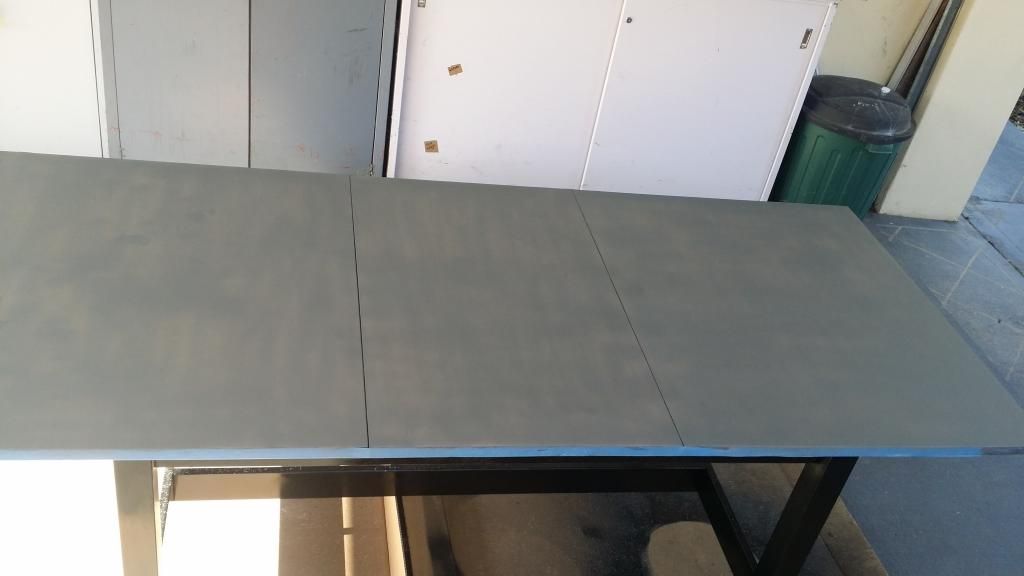
We used the paint that the paint store recommended and we had NO end of issues with it! It bubbled and cracked and stripped itself off. Nightmare! In the end I've just left it, and I might we do it again later. The table was even worse! My poor patient husband has sanded back and painted the table top about 3 times now? I'm waving my flag in defeat and we will just brush the paint on instead.

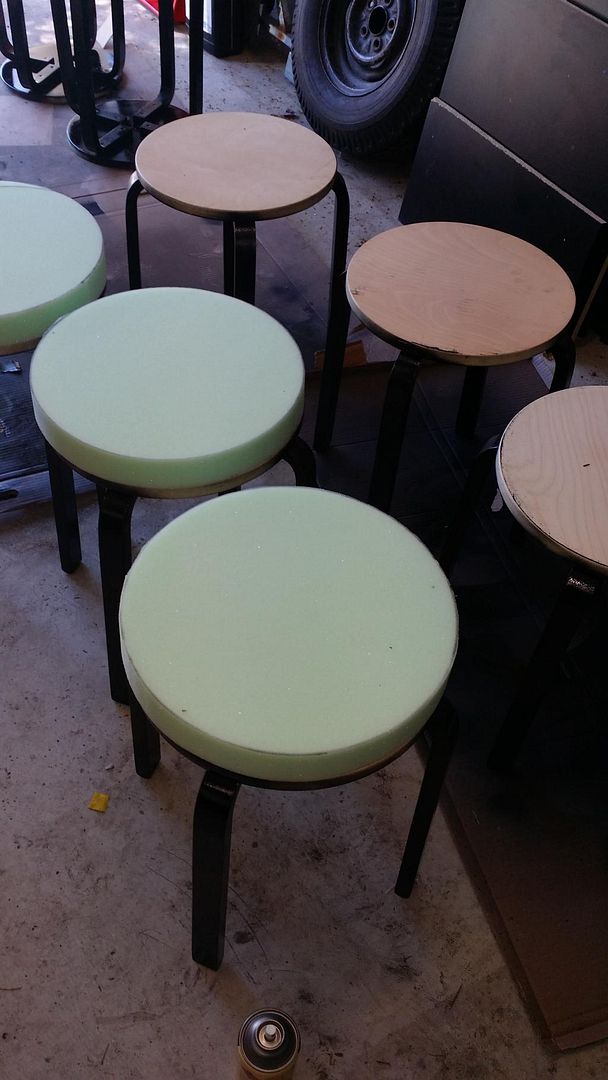
Next step was putting foam on because I have a sensitive behind, so I wanted cushioning. So I went to Clark Rubber and got foam cylinders (which they called circles, I resisted the urge to correct them!) Foam is not cheap! But my backside will appreciate it (hopefully!)

I sprayed adhesive on the stool and the foam and stuck them together.


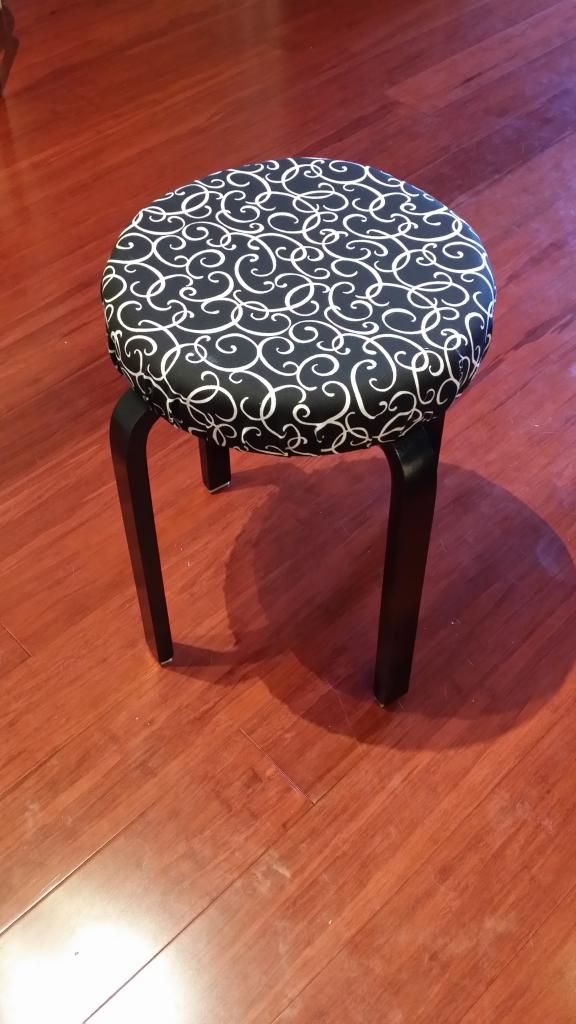
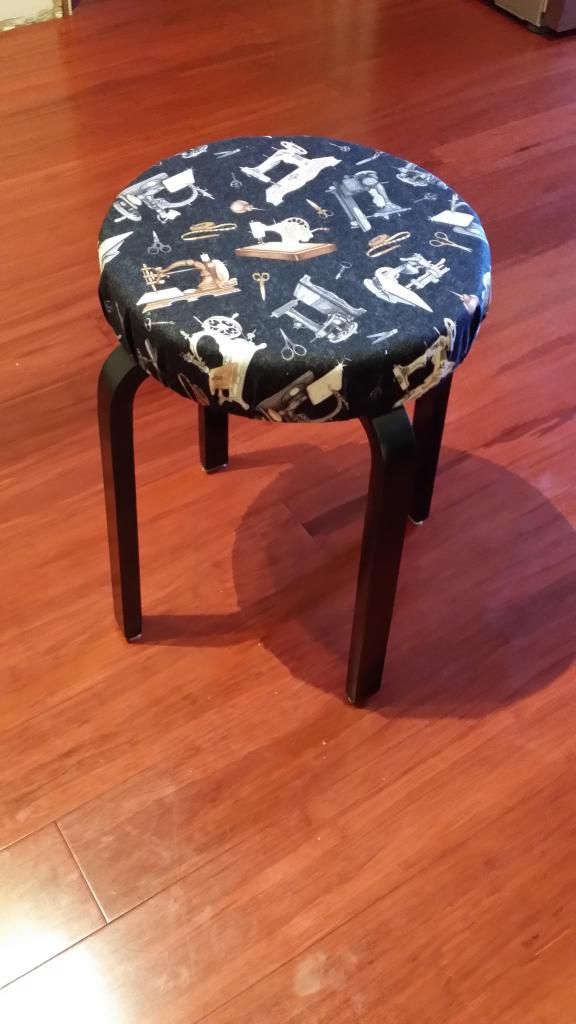
For the covering, I spent many hours trawling the internet finding material that I liked. There was nothing in the local stores. I finally found paydirt on fabric.com. I got a variety of patterns and fabrics. The best thing about having the different materials is that if I have to recover one, I don't have to match it!

So this actually took longer than I expected. I used a staple gun and LOTS of time!

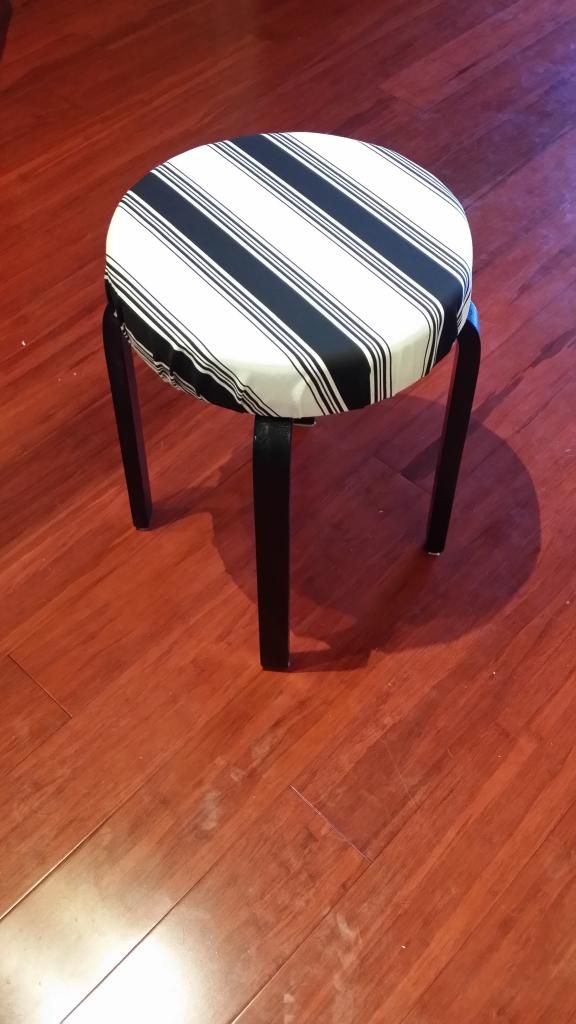
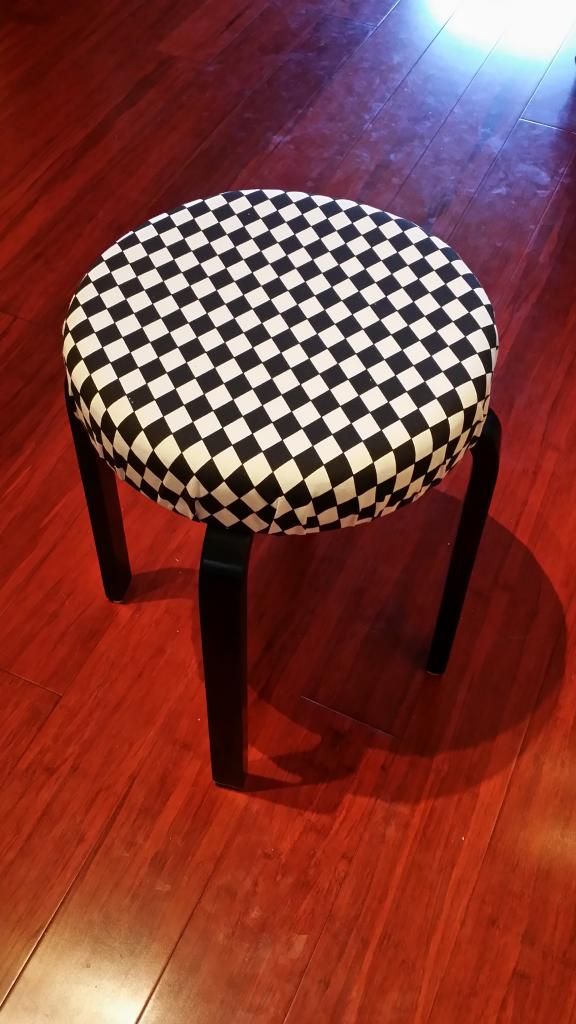
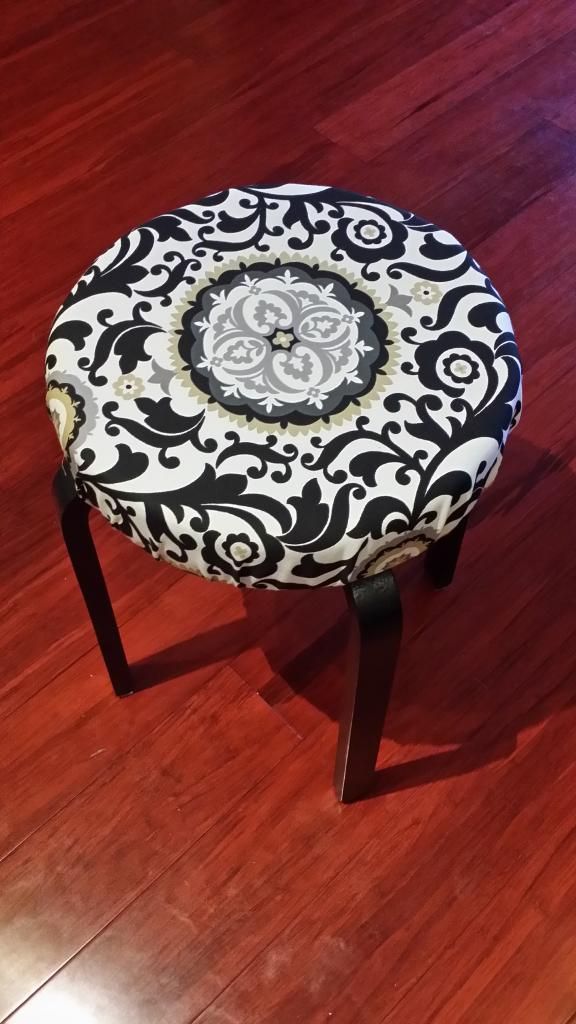
So here is the first of the final products! This was a flocked damask.